Cuisinart is an American home appliance brand that is originally owned by Conair corporation. The company was established back in 1971 by Carl Sontheimer in hopes of bringing electric food processors to the US market. While their first product was a food processor, the company has come a long way since then.
The company came from the love of French food and is currently regarded as one of the best in the world. Offering top-of-the-line kitchen appliances that are designed to offer you refined food choices that you normally do not get when cooking at home. One of which is their Cuisinart bread maker which offers you a fresh slice every time.
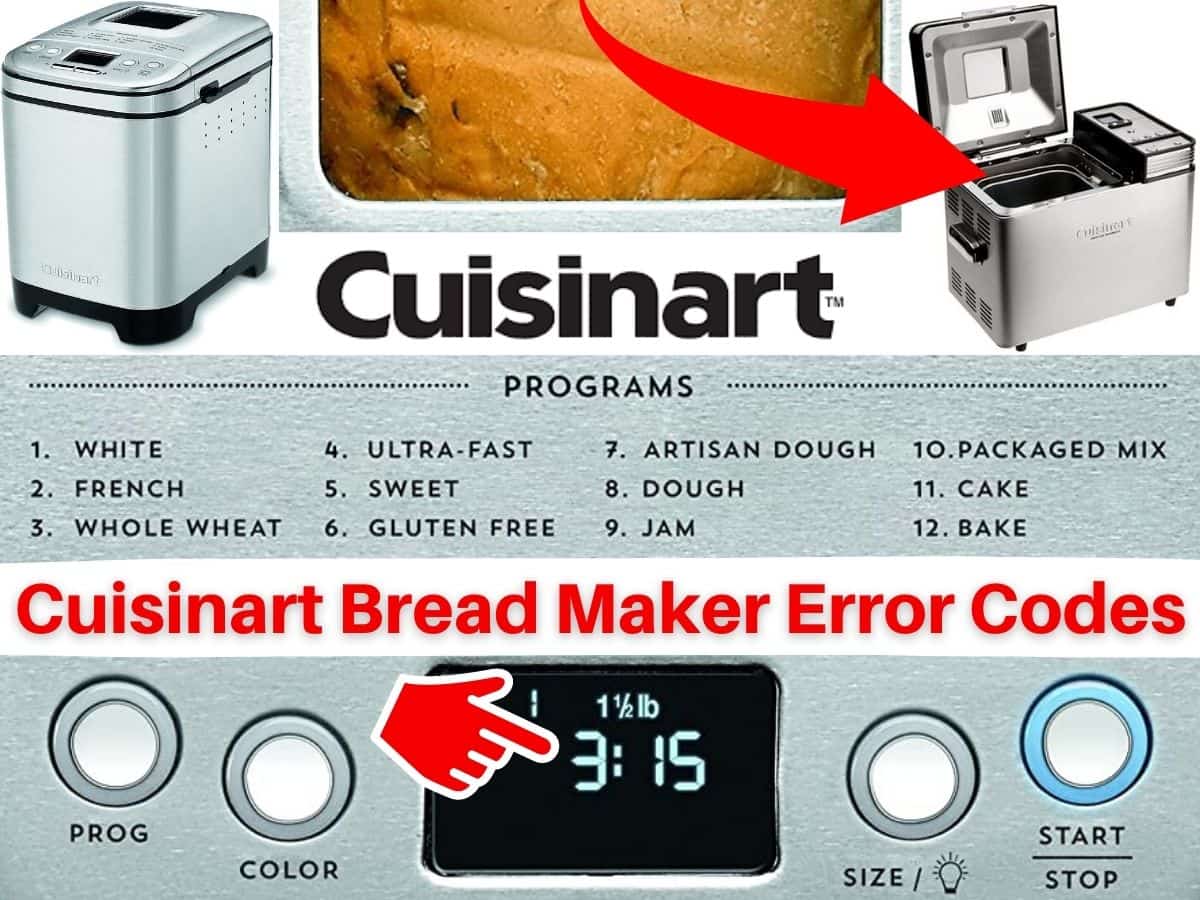
The Cuisinart bread maker is a blessing in disguise, especially for those who love bread. While being the best in the field the appliances can at times show an error code you do not understand. So rather than poking around or running to the store, we suggest you note down the code and match it using the error code list below.
Codes List
| Trouble | Solution |
|---|---|
| HHH | This code indicates that the bread maker has encountered a fatal error which the user cannot repair. |
| EEE | This code indicates that the bread maker has encountered a fatal error which the user cannot repair. |
| E00 | E00 indicates ambient temperature is too low [-4°F (-20°C)] to bake bread. |
| E01 | E01 indicates the temperature of the bread maker is too high to bake bread. This usually occurs when trying to make two successive loaves. The unit should cool from baking cycle before starting to knead a new loaf. Let the unit cool for 10 minutes prior to starting a new loaf. |
| Dough Does Not Rise Properly | Check expiration date of yeast. Make certain yeast is fresh and properly stored (sealed, in a cool dark place). Liquid may have been too hot and killed yeast or liquid may have been too cool and yeast did not activate completely – liquids should be between 75 – 90°F (24 – 32°C) for best bread machine results. Delay Start feature used, but ingredients were in bread pan in improper order. |
| Short loaves | Not enough sugar in recipe. Not enough yeast. Yeast was old or improperly stored. Delay Start feature used and ingredients not placed in bread pan properly. Salt came into contact with yeast and killed yeast. Loaves with whole wheat and/or whole grain flours will not be as tall as those made with bread flour. |
| Sunken, uneven tops of loaves | High humidity or high room temperature. Do not place bread machine in sunny window. On high humidity days, try increasing the flour by one tablespoon (15 ml) per cup (250 ml) of flour used. |
| Underbaked, gummy texture | Dough too wet. When baking next loaf of same bread, watch dough and add flour 1–2 teaspoons (5–10 ml) at a time. Too much whole grain or whole grain flour used. Bread pan too small for recipe. |
| Collapsed loaf | Dough too wet. When baking next loaf of same bread, watch dough and add flour 1–2 teaspoons (5–10 ml) at a time. Water not proper temperature. |
| Ingredients not in proper proportions | be sure to measure dry ingredients correctly by stirring flours first, spooning into measuring cup, then leveling. |
| Open texture | Dough too wet. When baking next loaf of same bread, watch dough and add flour 1–2 teaspoons (5–10 ml) at a time. Too much yeast was used. Salt was omitted or incorrectly under measured. |
| Dense, heavy texture | Dough too dry. When baking next loaf of same bread, watch dough consistency and add water/liquid 1 teaspoon (5 ml) at a time. This may occur when substituting lowfat products such as fat-free milk or egg replacers, light butter or margarine, fat-free sour cream or cream cheese. Not enough sugar in recipe. Not enough yeast used. May need to add dough enhancer or vital gluten flour. |
| Kneading paddle embedded in the loaf | If you are nearby when the signal before last rise sounds, you can remove the kneading paddle, reshape the loaf and replace. |
| Small amount of smoke/burning smell from machine | Most often this is caused by spilled ingredients. If it is bad, unplug machine, clean carefully (Caution: interior of machine is hot), then plug machine in again to continue. Program will be stored in memory for a maximum of 15 minutes if unplugged. Otherwise “flour dust” will burn off on its own. Clean completely when machine is unplugged and cool. |
Power Failure Backup
This unit is equipped with a power failure backup system. In case of any disruption of power supply, the unit will store in memory the stage of bread making cycle and resume once power is restored. The power backup feature can maintain memory for a power failure up to 15 minutes.
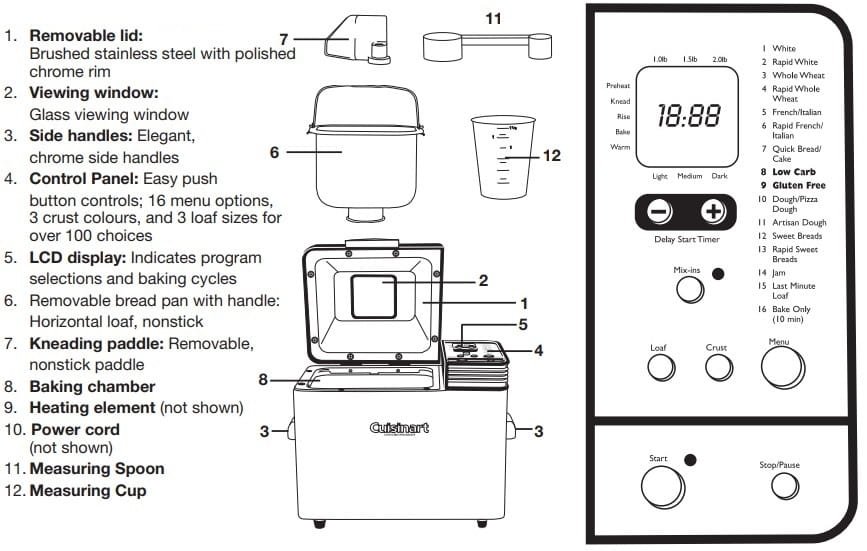
Parts and Features

Cleaning
Caution: Do not put the bread maker in water or in a dishwasher. Do not use benzene, scrubbing brushes or chemical cleaners, as these will damage the machine. Use only a mild, nonabrasive cleanser to clean the outside of the bread maker.
- Baking pan and kneading paddle – Pan and kneading blade are fully immersible and dishwasher safe. Do not use metal utensils with the baking pans as they will damage the nonstick surface.
- Baking chamber – Remove all bread crumbs by wiping them away with a slightly damp cloth or clean pastry brush. DO NOT bend the heating element, which is located on the inside of the bread maker. Unplug machine before cleaning.
- Lid – Wipe inside of lid with sponge or damp cloth. Lid should not be immersed in water.
- Outer Housing – Use only a mild, nonabrasive cleanser to clean the outside of the bread maker.
- Control Panel – Wipe with a slightly damp cloth as necessary. Take care not to allow water or cleaning fluids under buttons of control panel.
After Bread Making
There will be a series of 15 beeps to signal the end of the baking cycle; the bread display window will read 00:00 and the unit will be in the Warm cycle. Your bread will be kept warm for 60 minutes to prevent it from becoming soggy. For optimal results, we recommend removing the loaf as soon as the baking cycle is complete and letting it cool on a baking rack.
To remove bread from the pan,
- Using oven mitts, open the lid and remove the bread pan by the handle.
- Still using the oven mitts, hold the bottom of the bread pan, move the handle aside, and shake until the bread is released.
- For best results, allow the loaf to cool on a wire rack for 20 to 30 minutes prior to slicing.
Note: If you have not removed the kneading paddle before baking, be sure to remove the kneading paddle from the finished loaf. Use caution; the kneading paddle will be extremely hot.
Manual Pdf
Automatic Breadmaker CBK-100 Series

