If you’re doing something on your system and you suddenly see a Blue Screen Of Death (BSOD) followed by a restart, you would want to solve it as soon as possible because it is directly interfering with your work or entertainment.
The BSOD error is sticky. Once you get a BSOD error, you may get it frequently along with some other programs giving strange errors. This includes the Video TDR Failure error.
What Is The Video TDR Failure Error?
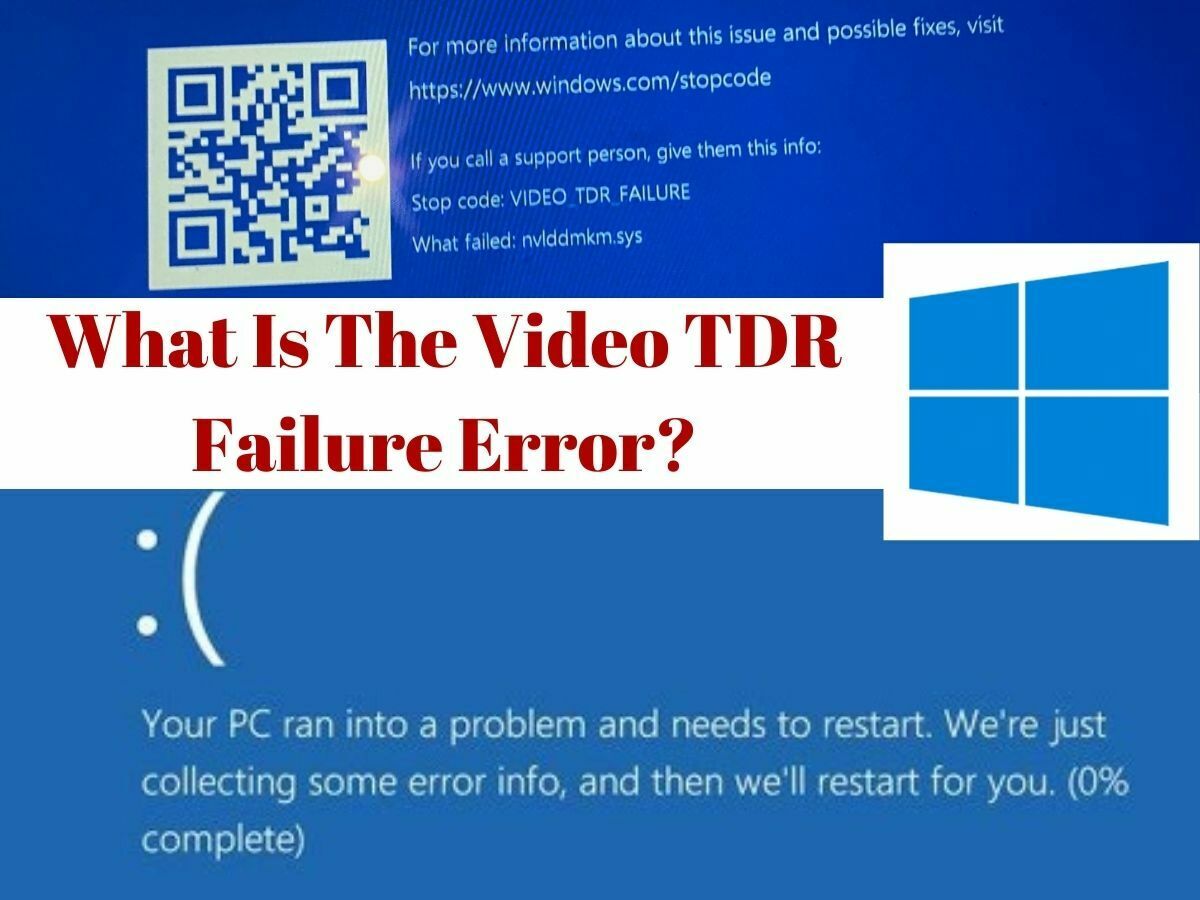
Users usually get the Video TDR Failure error when they play a video, or a game, or perform any activity related to videos or graphics. TDR is short for “Timeout, Detection and Recovery”. It is a Windows feature that is related to graphics and it is activated when the graphic card stops responding and all the operations of the system are stopped.
At this point, the user sees a BSOD and the system is restarted. During the restart, the TDR resets the graphics card so it can function again.
What Are The Causes Of The Video TDR Failure Error?
This error is not related to any brand of graphics card as it can occur to any system with any brand’s graphics card. There are many things that can cause this error. We have listed some common reasons.
- Graphics card issues
- Outdated drivers of graphics card
- Too many background apps running
- System overheating
- Overclocked system
- Combability issues of different components
- Dust and debris on components causing issues
Solving The Video TDR Failure Error Message
We have explained what is the Video TDR Failure error and why it’s caused. This error can reboot your computer on a loop making it hard for you to find and solve the issue. So, if you find this error, make sure to resolve it immediately before your system is stuck in an infinite boot loop. Below we are giving you some working solutions to this error.
1. Update, Reinstall Or Disable Display Drivers
The most common reason of this error is outdated display drivers, so begin troubleshooting by updating the display drivers. If update of the drivers doesn’t solve the problem, try to uninstall and then reinstall display drivers.
If updating or reinstalling doesn’t fix the issue, you should also use the disable driver option and see if it works. Because some drivers aren’t compatible with others so disabling the some drivers might solve the issue.
2. Run SFC Scan to Find And Fix System Files
SFC is a Windows utility that finds corrupted files and fixes them. Many times the cause of this error has been reported to be corrupted system files. This is why running SFC scan may solve the problem. It’s easy to run SFC scan. Follow these steps:
- Go to command prompt by typing cmd in the search bar
- Run it as administrator by right clicking on it and then selecting Run As Administrator
- When you see command prompt, type sfc /scannow and press enter
- The utility will scan system files and fix corrupted files
- When the process is complete, reboot the system
3. Perform Startup Repair
Windows provide many repair options in the startup to fix problems that aren’t allowing a user to completely start the system. If your system is booting in a loop or the above methods didn’t work, use the startup repair option.
- For doing startup repair, login to your screen if your system is already on and go to settings
- Then go to Update & Security
- From the side panel choose Recovery
- Click on the Restart Now option under Advanced Startup
- The system will restart and show the Troubleshoot options
- Select Advanced Options
- Then choose Startup Repair and enter your login info required
4. Physically Clean Your Computer
A reason of this graphics error is system overheating. Many times, a computer or laptop begins overheating due to dust and debris buildup. You need to open up the system and clean all of its components. Pay special attention to the RAM, graphics card, and cooling fan.
If this solves the problem, perform a system cleanout regularly to avoid this problem in the future.
5. Check Windows Power Management Settings
Windows Power Management settings optimize battery performance. It keeps a balance between performance and battery usage. It works pretty well, but sometimes it can hinder or stop the functioning of the graphics card. You should select optimal settings to avoid TDR error.
Following are step by step instructions for performing this.
- In the search bar, type Control Panel
- Select Power Options from the Control Panel window
- Now to go to the power plan you’re using and select Change Plan settings
- After this, select Change power advanced power settings
- Find PCI Express and click on the + sign to expand it
- You’ll see Power State Link Management, expand it as well
- Now turn off the options that say On Battery and Plugged In
- Click Ok and restart your PC
Moreover, if you have a laptop, you should also change the Power Mode
- Plug in the laptop
- Click on the battery icon in the taskbar
- Set the bar to Best Performance
- Now plug the power out of the laptop
- Click on the battery icon again
- Set the bar to Best Performance again
6. Format Your System
If the above solutions have not fixed the issue, you should move your important files to any other Local Drive and format the Drive C (that has Windows installed in it) and install a fresh copy of Windows 10/11.
The Video TDR Failure error can be caused by different reasons. We have listed most common solutions to this issue. Any of this solution can fix the error. If none of this work, we have also mentioned to reinstall Windows. Make sure to follow all the steps as mentioned to avoid problems.
- How To Check Netflix Viewing History In 5 Easy Steps - November 15, 2024
- Levoit Air Purifier Troubleshooting and Cleaning Filter - April 1, 2024
- Video TDR Failure Error on Windows? - January 13, 2024